Building a deck can be a rewarding and enjoyable project, but it requires a lot of work and attention to detail. One of the most important steps in building a deck is squaring the posts. Squaring the posts is critical to ensure the stability and safety of the deck. A square post provides a solid foundation for the rest of the deck structure, ensuring that everything is level, straight, and secure.
Squaring the posts may seem like a simple task, but it requires careful planning and execution. In this article, we will go over the steps to square deck posts, the materials you’ll need, and some tips and tricks to help you along the way.
Materials Needed
Before we dive into the process of squaring deck posts, let’s take a look at the materials you’ll need to get started. Here’s a list of the essential materials:
- Measuring tape
- Framing square
- Level
- Circular saw or handsaw
- Shovel or post hole digger
- Concrete mix
- Post anchors
- 2x4s or other lumber for temporary bracing
- Hammer and nails or screws
- Safety gear (gloves, safety glasses, etc.)
Preparation
Before you start squaring the posts, it’s essential to prepare your work area. This includes clearing the area where the posts will go and measuring and marking the posts.
Clear the Work Area
Clear the area where you plan to install the posts. Remove any debris or plants from the area, including rocks, roots, or other obstacles. This will give you a clean and level surface to work with.
Measure and Mark the Posts
Using a measuring tape, measure the height of the deck from the ground to the top of the deck surface. Mark this measurement on the side of each post with a pencil or marker. Make sure the marks are level and at the same height on each post.
Cut Posts to Correct Height
Using a circular saw or handsaw, cut each post to the correct height. Make sure each post is cut straight and at the same height as the other posts.
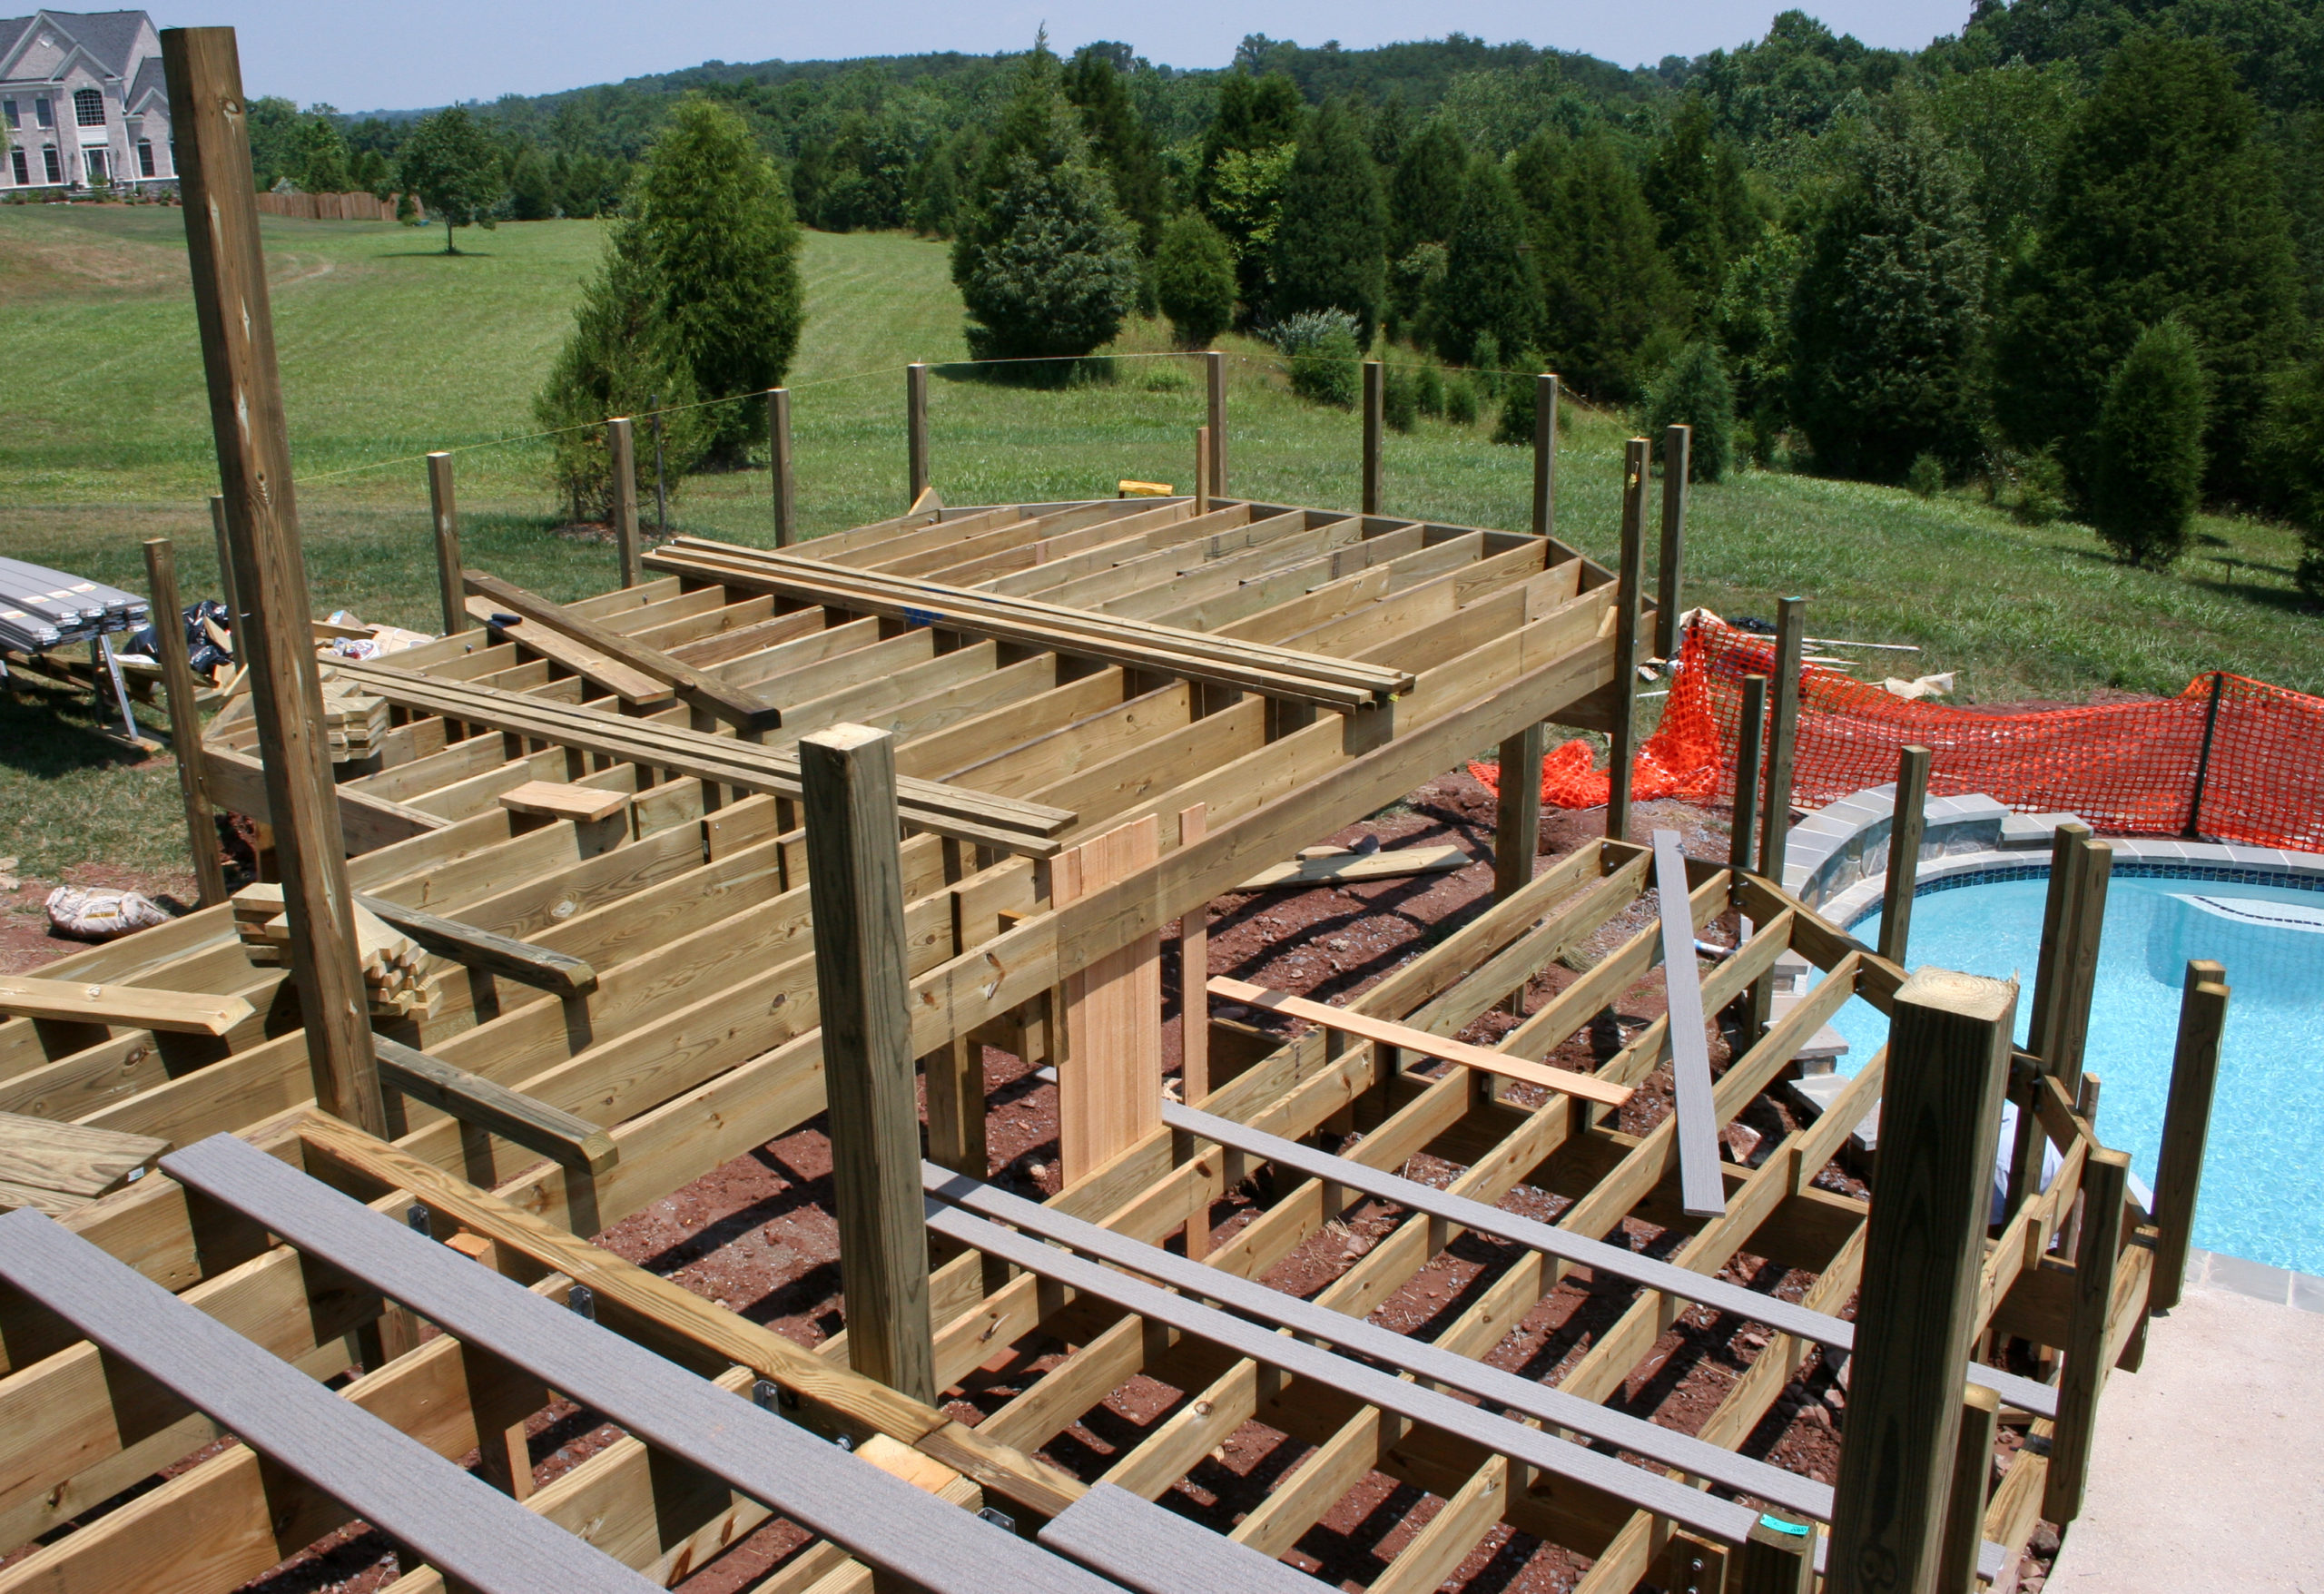
Squaring the Posts
Squaring the posts is a critical step in the deck building process, as it ensures the stability and safety of the deck. Let’s take a closer look at each step involved in squaring the posts.
Position the Posts
The first step in squaring the posts is to position them in their intended locations. Make sure the posts are level and plumb, which means they are perfectly vertical with no leaning or tilting. You can use a temporary brace, such as 2x4s or other lumber, to hold the posts in place while you work on squaring them.
Check for Plumb
Using a level, check each post for plumb. This means making sure the post is perfectly vertical, with no leaning or tilting. If a post is not plumb, it can affect the stability and safety of the deck. To adjust a post that is not plumb, use a shovel or post hole digger to remove some soil from the base of the post or add soil around the base of the post until it’s plumb.
Check for Square
Next, use a framing square to check that the posts are square with each other. A framing square is a triangular tool that has a long arm and a short arm. To use a framing square, hold it against the face of one post, making sure it’s flush with the top of the post. Then, hold the level against the square, making sure it’s perfectly horizontal. Finally, check that the other post is flush with the framing square, and adjust as necessary until both posts are square with each other.
Double Check for Plumb
After you’ve checked for square, double-check each post for plumb. It’s important to make sure the posts are still vertical after making adjustments for square. Double-checking for plumb ensures that the posts are perfectly vertical and secure.
Example:
Let’s say you’re building a deck with four posts. After positioning the posts in their intended locations, you use a level to check each post for plumb. You find that one of the posts is leaning slightly to one side. To adjust the post, you use a shovel to remove some soil from the base of the post until it’s perfectly vertical. Next, you use a framing square to check that the posts are square with each other. You find that one of the posts is not flush with the framing square. To adjust the post, you use a post hole digger to add some soil around the base of the post until it’s flush with the framing square. Finally, you double-check each post for plumb to ensure they are all perfectly vertical and secure.
In conclusion, squaring the posts is a crucial step in building a safe and stable deck. By using a framing square and a level, you can ensure that the posts are perfectly vertical and square with each other. Remember to double-check for plumb throughout the construction process and make any necessary adjustments. With these tips and tricks, you can successfully square your deck posts and build a deck that’s both beautiful and safe.
Secure the Posts
Once the posts are square and plumb, it’s time to secure them in place. There are a few different ways to do this, including using post anchors, concrete, or a combination of both.
Post Anchors
Post anchors are metal brackets that attach to the bottom of the post and then bolt to the deck frame. They provide a secure and easy way to attach the posts to the deck frame. To use post anchors, follow these steps:
- Drill holes in the deck frame where the post anchors will go.
- Attach the post anchors to the bottom of the posts using screws or bolts.
- Insert the posts into the post anchors and secure them using nuts and bolts.
- Adjust the height of the posts as necessary before tightening the nuts and bolts.
Concrete
Concrete is a strong and durable material that can be used to secure the posts in place. To use concrete, follow these steps:
- Dig a hole for each post, making sure it’s deep enough to support the post and the weight of the deck.
- Place the post in the hole and fill the hole with concrete mix, following the instructions on the package.
- Use a level to make sure the post is perfectly vertical and adjust as necessary.
- Allow the concrete to dry and cure according to the instructions on the package.
Combination
For added strength and stability, you can use both post anchors and concrete. This involves attaching the post anchors to the bottom of the posts and then pouring concrete into the holes around the posts. This provides a secure and long-lasting foundation for the deck.
Add Bracing
After the posts are secured in place, it’s important to add temporary bracing to the posts to prevent them from shifting or moving during the construction process. Use 2x4s or other lumber to brace the posts, making sure they are secure and tightly in place.
Double Check for Level and Square
After adding bracing, double-check the posts for level and square. Make any necessary adjustments before continuing with the construction of the deck.
Finishing Touches
Once the posts are squared, plumb, and secure, there are a few additional steps you can take to ensure the deck is stable and safe.
Check for Any Remaining Issues
Check the posts for any remaining issues, such as cracks, warping, or other defects. Replace any posts that are damaged or compromised in any way.
Add Additional Support
Consider adding additional support to the posts, such as post caps or braces. This can help to strengthen the posts and prevent them from shifting or moving over time.
Squaring the deck posts is a crucial step in building a safe and stable deck. By using a framing square and level, you can ensure that the posts are perfectly vertical and square with each other. By securing the posts with post anchors or concrete, you can provide a strong foundation for the deck. Remember to double-check for level and square throughout the construction process and make any necessary adjustments. With these tips and tricks, you can successfully square your deck posts and build a deck that’s both beautiful and safe.