As a homeowner, you may want to customize the area around your house to fit perfectly into your taste while making the most out of it.
While there are various methods of doing this such as planting flowers, adding a swimming pool, or simply a garden. You may want to go a step further and add even more traditional features, a tiki hut.
An example of this idea is building a tiki hut in your backyard. Although a tiki hut may at some point resemble a house that’s made of a grass roofing, tiki huts are actually made of natural cypress or pressure-treated pine and sable palm thatch for the roof.
A major advantage of these huts is that they are known to be very durable and long-lasting. These huts can last up to and even more five years before you have to replace the roof on them.
However, tiki huts may be most beneficial during the summer or the warm seasons. This is because they can provide cool shade from the harsh sun. Because of this, tiki huts are very common in Florida where the climate is mostly warm.
However, before setting up a tiki hut, you must check whether your city requires that you have a permit for the same before you begin. This is because tiki huts must pass zoning and building inspections. Regardless, getting a permit for a tiki hut should not be as hard a task as it may seem.
If you feel energetic or adventurous, you may want to try to create a tiki hut for yourself for various uses. These uses may be to convert the tiki hut into an outdoor theater, to use it for provision of shade at times when the heat may be too much, or to use them as structures to be used during family events.
Some people may decide to put up a tiki hut as a permanent open-air structure that you will use occasionally for recreational purposes.
The prices for hiring someone to create a tiki hut for you may vary widely because of differences in quality of the material used, the cost of the hired worker as well as the size of the tiki among many other factors.
To enable you to create your tiki hut or tiki bar anywhere in your compound and add that extra touch of style and luxury, I have taken time to write this article where I give you a step by step guide that will take you through the process to build a tiki hut for yourself!
- Create your Plan
Before beginning, you should make sure that you most importantly have come up with a well laid out plan of the general setup of your tiki hut.
Here you will take a look at the amount of space that is left unused in your compound as well as which one you are willing to devote to putting up this structure.
Also, make sure that you calculate how much it may cost to set up the whole tiki hut considering your budget.
Create a plan of how many days it may take you to do the whole process and complete it. On average, it may take between 3 to 5 days depending on your speed as well as the number of people you involve.
- Make sure you have some of the basic tools and material
Before you start doing any task, you first have to ensure that everything that may be required in the process is ready right? Well, that is also the case when building a tiki hut in your backyard.
Write down a list of tools that you are required to have to help you know which ones may require purchasing and which ones you already have.
These are the tools that are used in most types of construction work. These are hammers, saws, nails, and a tape measure just to mention a few.
The materials that you will require for this work are palm leaves for the roof and some nails to connect a part of the hut to another, and lastly a pole that will provide support to the ceiling just like an umbrella.
Other tools that you may want to consider getting are a chainsaw to cut the lumber, and a pair of safety goggles for eye protection.
All these will be very helpful in making your process faster, increase your convenience as well as your safety.
- Laying a foundation
As you lay a foundation for your tiki hut, this is the part where you will determine the shape that your tiki hut will take and how large it will be. While doing this you will be at the same time creating landmarks for example putting a point of an indication to show where the main pole will be placed. ( Use a flag, paint or stake)
After putting some of the landmarks on the areas that you intend your tiki hut to sit on, use a post hole digger to excavate the area where you are planning to set up your tiki hut but make sure that you don’t get rid of the soil since it may still be used to cover the hole around a pole.
After taking out earth from these areas, put up your pole to make sure the hole doesn’t cover up and also to make sure the holes are just the right fit for the pole to provide a strong base for your tiki hut.
- Build the tiki hut
After you are done preparing all the necessary cuttings, holes, and tools, as well as testing how well they may fit on their specific areas, it is now time for the real process of building your tiki hut in your backyard.
For this stage, you will need an air compressor, a screw gun, and a pair of safety goggles.
You will also need a saw for cutting some of your materials to the proper length.
Some nails. These nails will be used to hold one part against another to provide complete support for the whole system in the end.
Gloves to prevent splinters. You will use these gloves when dealing with rough tools or anything that when handled for a long time may cause blisters, splinters, or injuries generally.
A hammer or pneumatic tool to drive the nails.
A tape measure. This will be used to help in the creating of an accurate tiki hut since it helps one to measure accurate lengths.
Safety goggles. A pair of these may be really helpful as they will help you reduce the risk of eye injury regardless of whether it would have been caused by dust entry into the eyes or any other material.
Pick all the parts you had prepared then you may begin to attach them onto the other logically from down as you come up to provide enough support as you continue.
Make sure that all your measurements of angles and lengths are as accurate as possible to avoid any letdowns such as in a case where one side of a tiki hut is higher than the other as a result of wrong measurements.
- Thatching your Tiki Hut
Use your thatch of choice to install on your tiki hut. A long-lasting Florida thatch is the sable palmetto. This material is the most common and most recommended for an authentic look and feel.
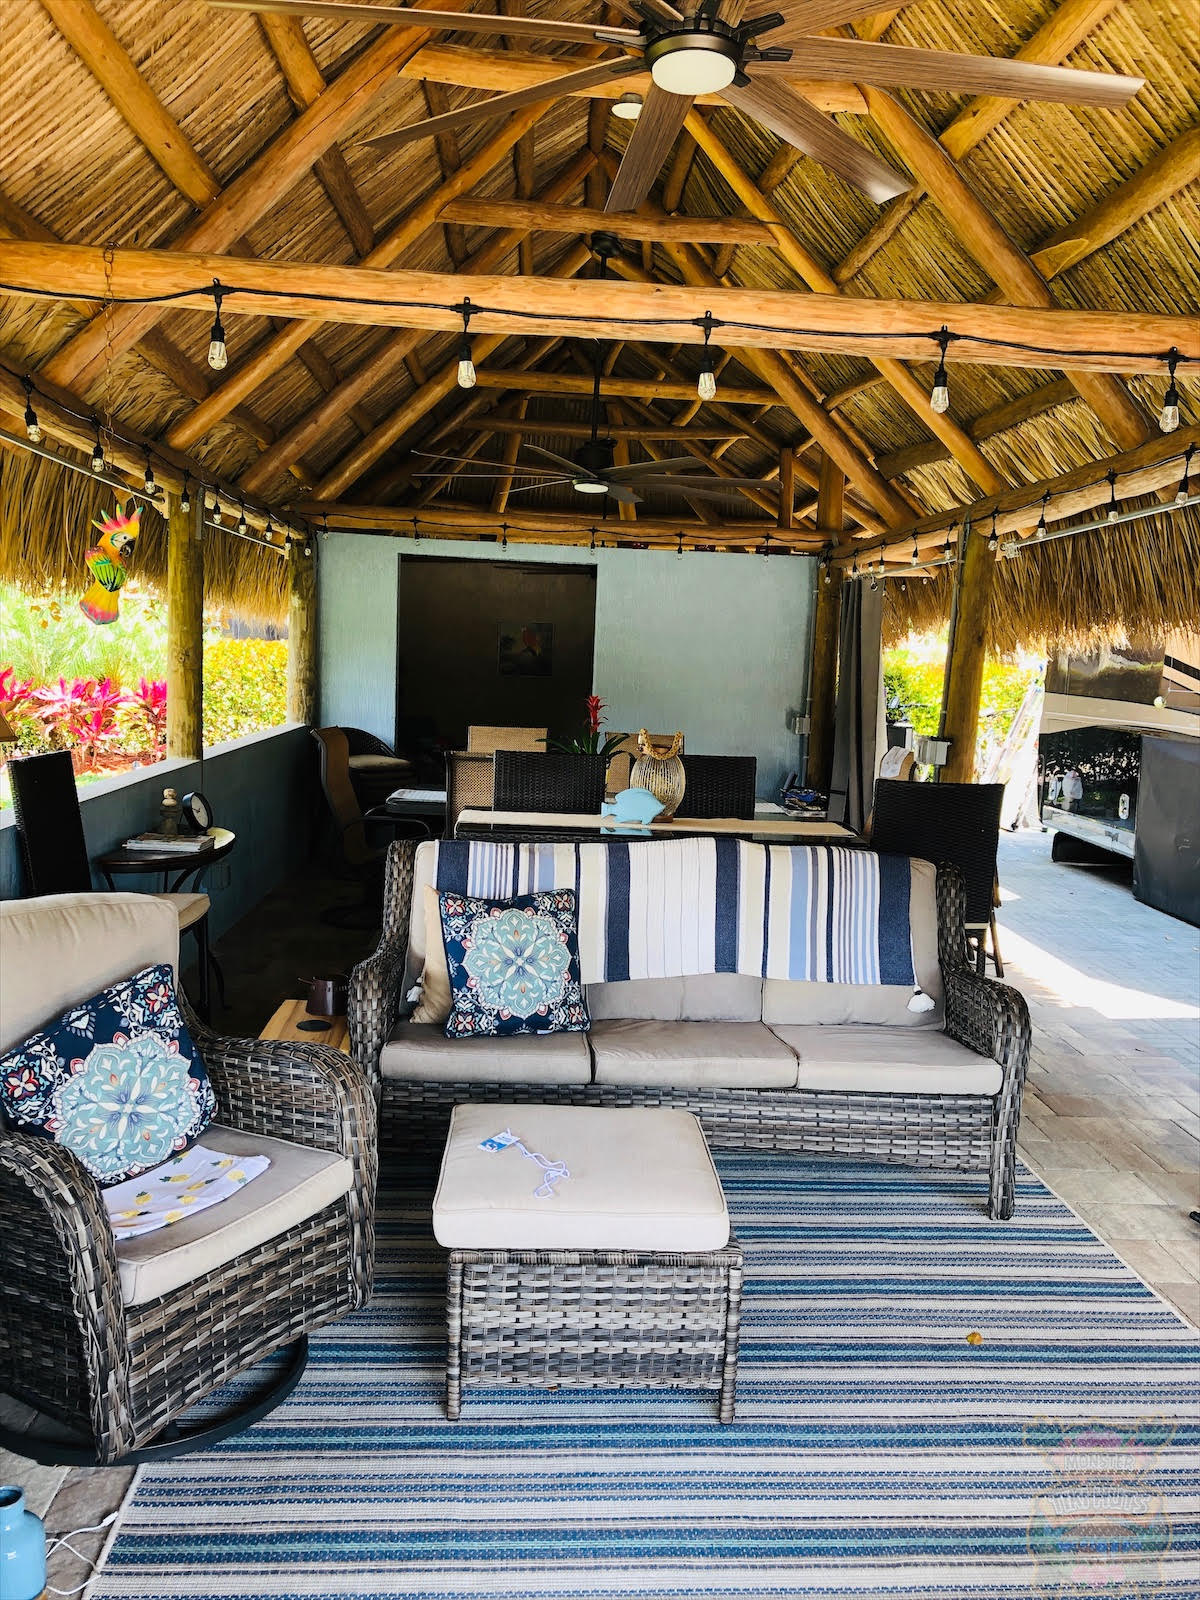
Finishing Touches
After the successful completion of the construction of a tiki hut at your backyard, you may want to add a few items, accessories, or features of your choice to give your new construction the spectacular and eye-catching look that you think is the best.
For example, you may choose to add a ceiling fan inside the tiki hut to keep the air cool.
You may also decide to add décor of your choice to the tiki hut. You may add a painting, amazing furniture, or even artistic sculptures that will give your tiki hut a touch of style as well as elegance.
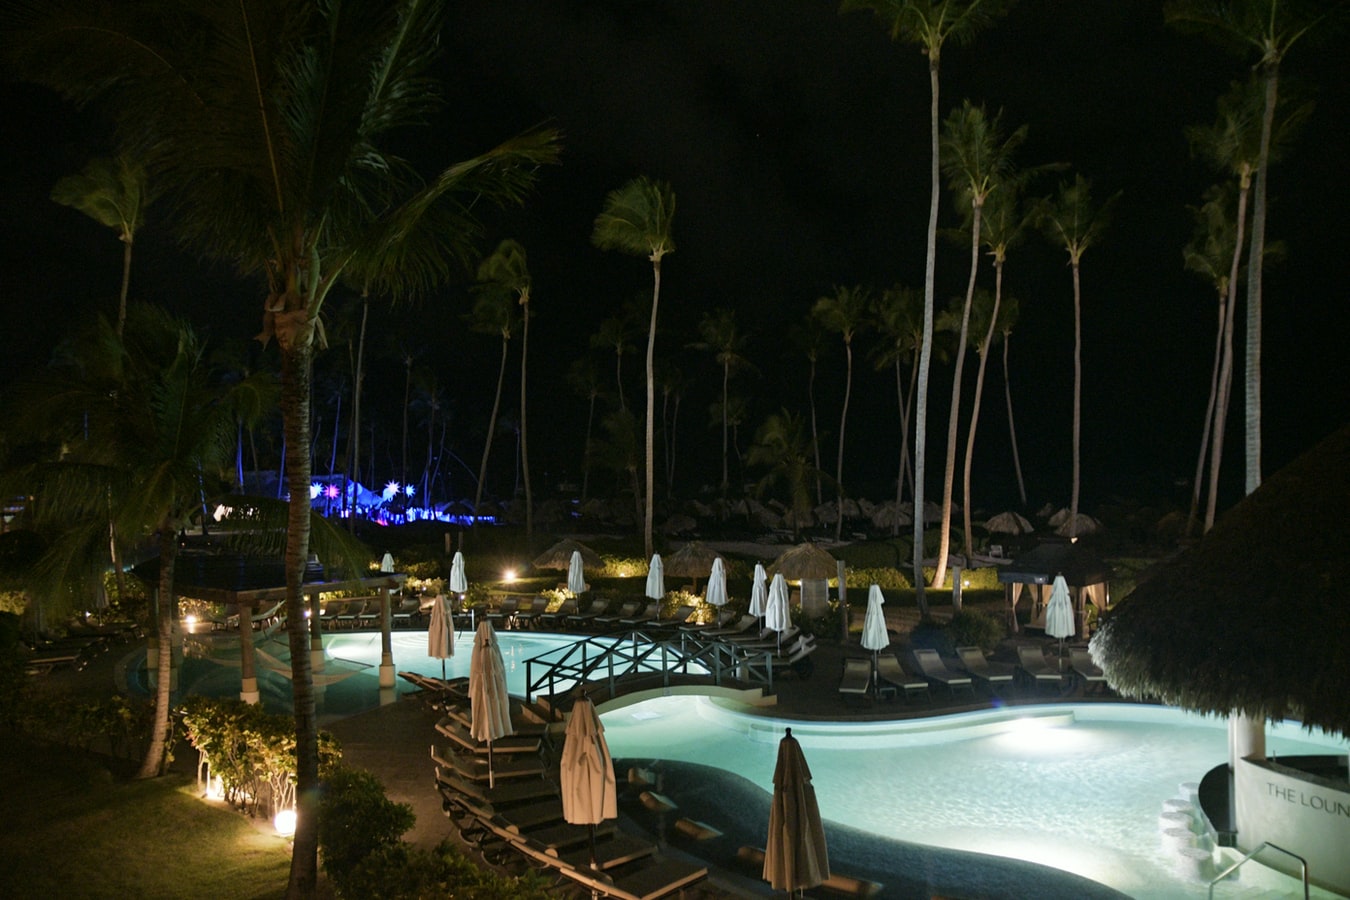
You may also want to consider setting up a lighting system that may come in handy during nighttime for example of you may be hosting a party then some of your guests may choose to hang around that area.
Advantages of having a tiki hut
A tiki hut has various advantages which may explain the reason for its ever-growing popularity around the world. It may offer various advantages such as the ones I have stated below.
It offers sustainability since it can withstand harsh weather. However, if one part of the roofing is destroyed, it may affect the whole house.
It is also eco-friendly. A tiki hut is environmentally friendly in that it uses more than 90% natural material as it is made. This is because the tiki hut uses a thatch roof unlike building roofs that are non-biodegradable. Also, as soon as a tiki hut is spoilt, its contents may be left for decomposition, this ensures zero pollution of the environment.
It offers cool weather. This hut is mostly favorable for use during summers since the thatched roofs prevent the entry of very strong sunlight into the hut, therefore, allowing only a little amount of heat to reach a person.
A tiki hut adds style to your property. For example, a house with a tiki hut is more likely to grab people’s attention, unlike a regular home that the homeowner does not seem to have gone the extra mile to make their property more attractive and appealing.
You may now invite people to your complete self-made tiki hut and have some fun. Otherwise, you may choose to contact us to get a free quote on your tiki hut project!
Serving all of the following cities & beyond:
[cities major_cities=”true”]